
What is your darkroom? A room, closet or bathroom? Please tell us a bit about it.
The current darkroom built in 2013 is a former “walk-in closet” that was used as a darkroom by the previous owner of our house. It measures 84” x 62” with a 96” high ceiling. It is quite small compared with other darkrooms I have built (5 in total). The photos and layout drawing show what it looks like. Since I am right handed, my workflow is from left to right. The benches are arranged so that I work in a “clockwise” direction starting at the enlarger station. The top surfaces of the benches are quite high, and are 4” below my elbow to be comfortable while standing. I never built a long sink to place development trays in. I use “rolled ends” or fresh newspapers on the bench top instead. The trays sit on this paper and protect the varnished surface from minor spills. Large spills are best avoided and when they do happen must be cleaned up immediately.
What's your process? Tell us a bit about your developing routine, especially if it's tricky.
Since I use black and white materials only at this time, there are two development processes; one for film and one for paper. For film developing I use the Paterson system tanks and reels. The reels accommodate 135 and 120 films very easily. When you use a camera that “counter winds” the film on the pickup spool (many cameras do this to counteract the film curl) it is often necessary to heat the reel with a hair dryer to make sure that it is absolutely dry. A 36 exposure "counter wound” roll will frequently not go all the way into the reel if it is not perfectly dry. The Paterson tanks are very good since they fill quickly and empty quickly. After a film is washed I immerse it clean water with a bit of Photoflo 200, then remove it from the reel and hang it in a tall home made dust free film dryer cabinet. It is best to never touch the film with your fingers or a squeegee. For paper developing I use trays for sizes up to 11” x 14”. They barely fit on the “wet” bench. For 16” x 20” prints I use a drum on an electric drum roller. Washing of large prints is also done in a drum.
What is your go to film developer?
In the past I experimented heavily with various films and developers, and concluded that a one-shot developer was best for me. I use the old Agfa Rodinal developer which is now available again as Blazinal, made in the Toronto area. You can buy it from Beau Photo. I tend to use dilutions of 1:25 or 1:50. As a backup developer I also use a high acutance developer formulated by Willie Beutler. You need to compound this from basic ingredients. It is a one-shot developer as well.
What is your all time favourite film/film developer combo?
I get fine results from Ilford FP4+ (135 type) and Rodinal. Kodak T-Max 100 and Rodinal are also a very good combination. I have recently tested Fuji Neopan Acros 100 (135 type) with Rodinal and like the results.
What result/look does this give?
The Fuji Neopan Acros 100 has a superb tonal scale in both shadow and highlight areas. It has very fine grain. A 16” x 20” enlargement made from an Acros 100 negative is just as “grainless" as one made from an old Agfa 50 ISO film negative.
What is your all time favourite paper/paper developer combo?
I began making prints when I was 16 years old when growing up in The Netherlands. You could only buy graded papers by Agfa and GAF. I preferred Agfa Brovira and made my own developer and fixer from chemicals purchased at a local drugstore. Today I mostly use Ilford’s RC Multigrade IV paper with the modern contrast filters for the enlarger. There are literally dozens of paper developers. The late Ansel Adams preferred Agfa/GAF 130 developer <http://simmonsphotos.com/Formulas/Paper/Agfa130.html>.
I never tried this developer since it contains glycin, an expensive chemical. My standard paper developer is Kodak Dektol or D72 and I have used it for a very long time. It provides a fine neutral black on both fibre and RC based papers. Keeping properties are very good. You can buy this developer in Kodak packages if still available, or you can use an Ilford equivalent. If that fails you can always compound your own from scratch.
Have you tried any or are you into any alternative processes, such as cyanotype?
I have not tried cyanotype process since it requires a large format camera. However, I have made many prints in sepia using a two bath toning process. Years ago I developed my own colour negative and slide films using the C41 and E6 processes. I even made black and white slides from Kodak Panatomic X film with a reversal process. In addition I created small and large colour prints using the EP2 process. Colour film development and printing is normally done at a temperature of 38ºC or 100ºF. So, a thermostatically controlled water bath is needed to maintain processing solutions and development tanks and drums at the correct temperature. This equipment complicates processing of colour materials, while printing on paper requires colour balancing with a colour analyser. You need a fairly large darkroom to accommodate this type of equipment. That is why I now stick to simple black and white techniques.
What is the best processing tip you can give?
There are many tips I could give. The most important tip is that the carrying out of all darkroom processes must be totally consistent and repeatable. In a darkroom we are dealing with processes that require precise dilution of chemicals, exact timing and handling of solutions at specified temperatures. To make sure that you can duplicate a given result in the future you must write down excellent notes while developing film and making prints. You need to make sure that your notes make sense to you years from now. If you experiment, your notes will allow you to analyze the results, and converge faster on the image quality you want. I began writing a logbook in 1974.
What are some general comments?
Instead of a handwritten logbook another possibility is to record your work in a suitable computer database. I have negatives and slides going back over 40 years. Slides are kept in marked plastic boxes and sleeves. Black and white plus colour negatives are stored in good quality #10 envelopes. Each envelope shows date, film type, development, location, subjects and any other useful information. I am still entering the information on the envelopes into a database. You could use an MS Excel sheet, or better still a proper database provided by an office suite such as "zero cost" LibreOffice or OpenOffice. The same idea applies to prints you made and possibly sold to customers. There are some good computer based tools available for professional photographers.
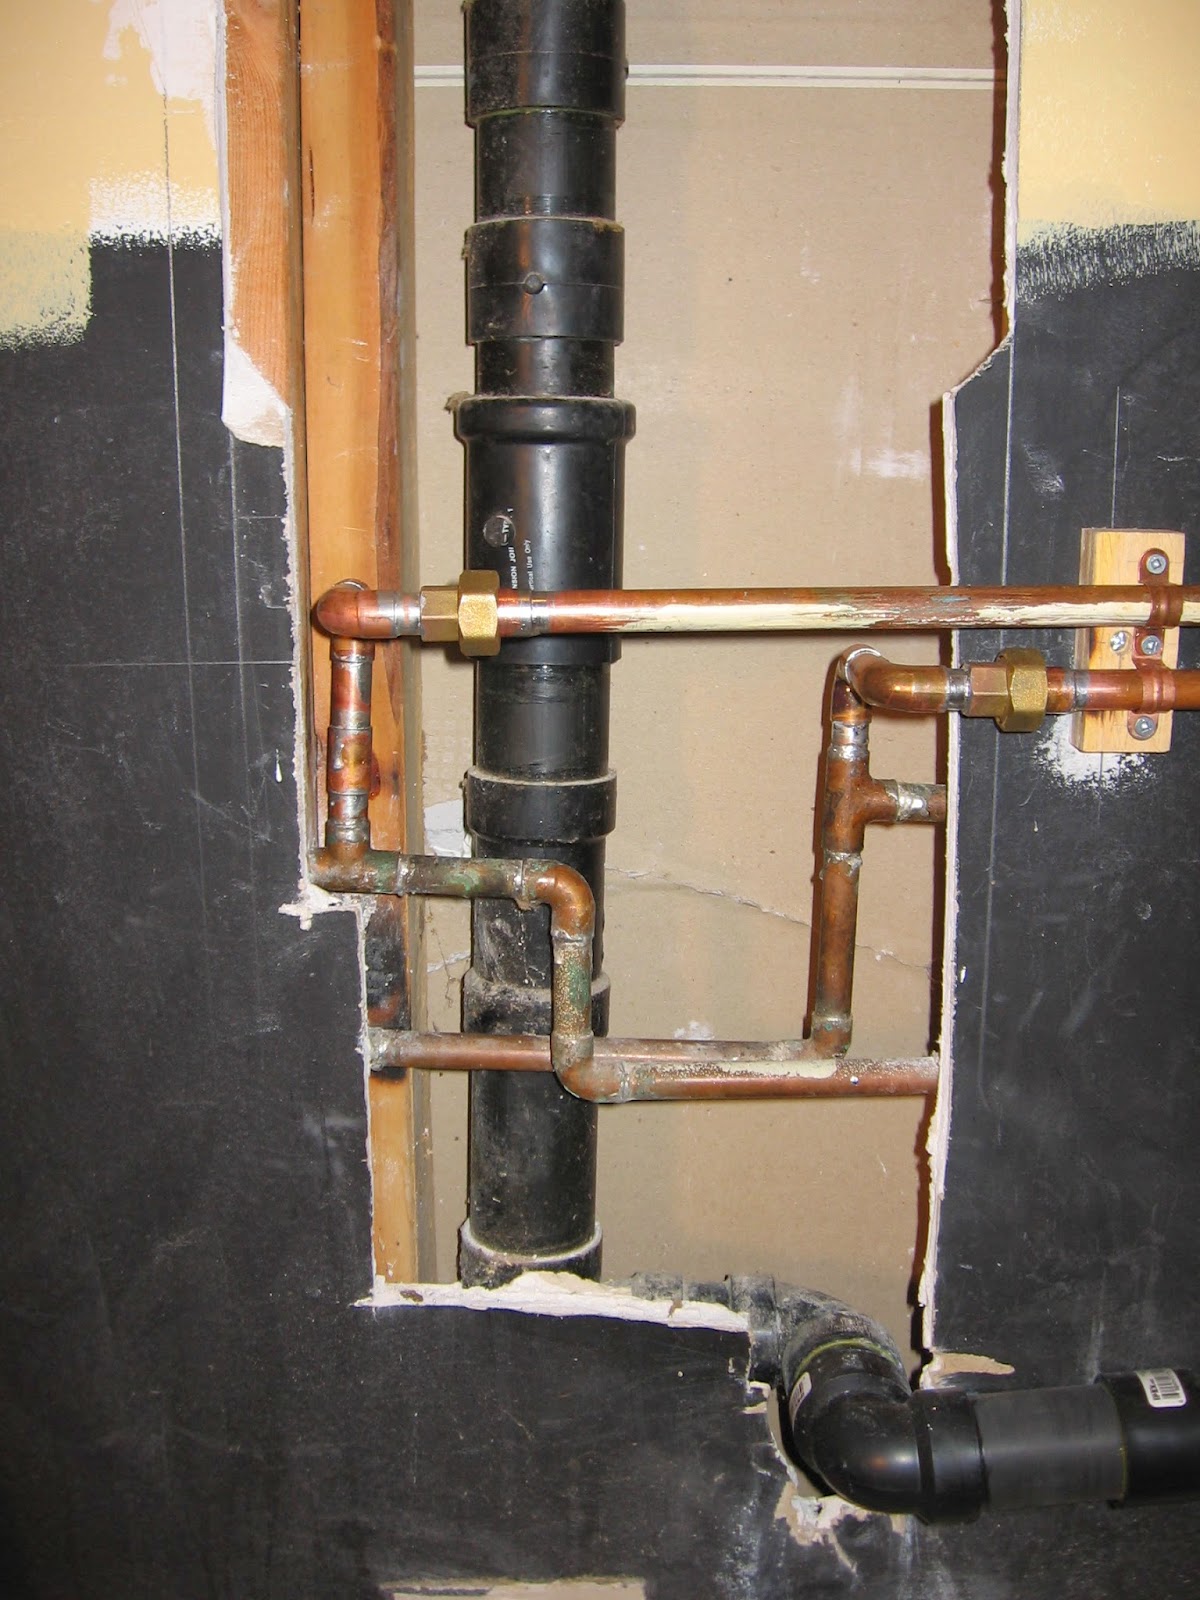
See below for some great photos of the creation of John's darkroom!


No comments:
Post a Comment
This blog is no longer active. For current posts, see https://www.beauphoto.com/blog/
Note: Only a member of this blog may post a comment.